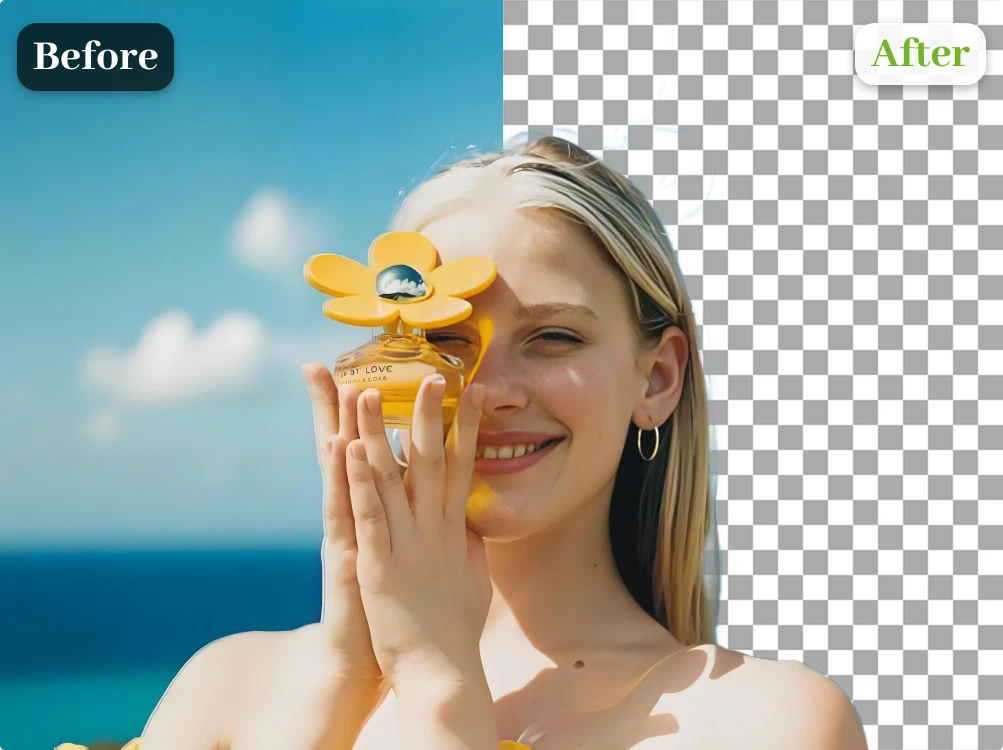
A transparent product image is useful far beyond a white-background listing. You can place the same cutout in a presentation, a seasonal campaign, or a comparison graphic. The challenge is producing an edge that still looks good when the background changes.
Quick answer: Upload a clear photograph, run background removal, inspect the cutout against both light and dark backgrounds, and download a format that preserves transparency. Review fine details before using the result in a product listing.
Disclosure: this guide introduces our product, Remove Bg. We checked its visible interface on September 18, 2026. Remove Bg at remove-bg.dev is a separate website from remove.bg. This article is a practical workflow guide, not an independent performance comparison.
A transparent image can preserve the subject while allowing the design underneath to show through. The transparency information is separate from the subject's visible colors. A white background may look clean, but it is still a background: place that image over a colored slide and a white rectangle can appear around it.
PNG is a common choice for reusable transparent cutouts. A JPEG does not preserve an alpha channel. Be careful with screenshots of a preview: a screenshot can capture the checkerboard pattern or white canvas rather than preserving the actual transparency.
Website example for a background-removal workflow. It is not a new test result generated for this article.
Website example for a background-removal workflow. It is not a new test result generated for this article.
The boundary may contain light-colored pixels from the original background. They blend into white but appear as a halo over a darker design. A preview against only one color can hide this issue. The opposite can happen with dark fringes around a subject placed on a light background.
Fine hair, fur, translucent fabric, and glass are especially demanding because their boundaries are not simple solid shapes. A useful cutout may need partially transparent edge pixels rather than a hard outline. Judge the edge at its intended display size as well as at a closer zoom.
Use a sharp original with enough space around the subject. Avoid clipping the tips of handles, shoes, hair, or packaging before processing. If a part of the product is absent from the photograph, background removal cannot reveal it.
When taking a new photo, separate the subject visually from its background and use even light. A simple backdrop does not have to be perfectly white. For a pale product, a slightly contrasting background can make the outline easier to evaluate. Keep a reference image of the original so the final result can be checked for missing parts.
Visit Remove Bg's online background remover. The inspected interface supports choosing a local image, dragging a file, or supplying an image URL. The page lists JPG, PNG, and WebP inputs. Use a local file when a remote URL is private, temporary, or requires authentication.
Start with a photograph whose boundaries resemble the rest of your work. For a shop selling bags, include a handle and strap rather than testing only a solid rectangular package. Follow the account and credit requirements shown by the live interface.